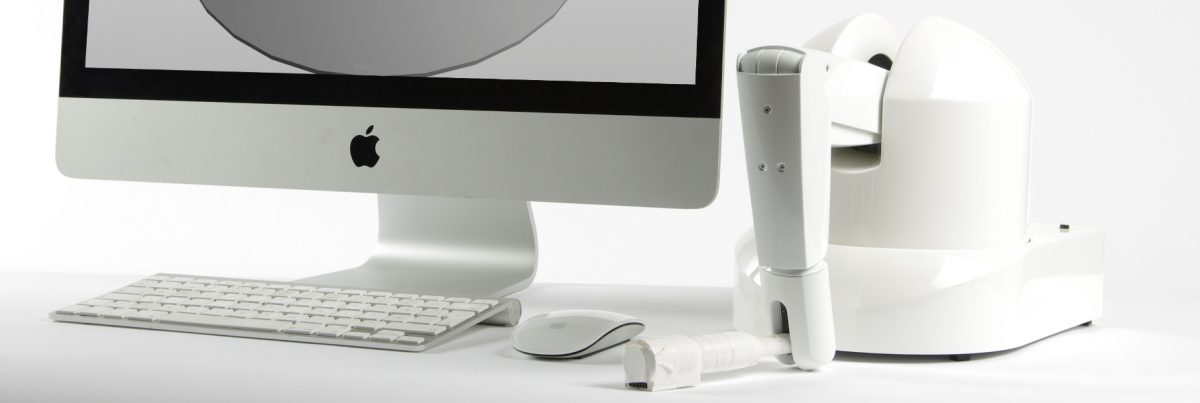
I have been working for some time on the API to the Polhem haptic device and it is working fine now, both in Linux and Windows. Still there is better performance in Linux (up to 9 khz measured) but over 2.5 khz in Windows is not bad at all. We can still improve that and I have some ideas how, but for now lets discuss how you can get started with the API and some of its benefits.
Get haptikfabrikenapi from Github and build it from source (open source, indeed) following the instructions on the github page (README.md). Take a look at the example code in examples/terminal/terminalapp.
The first example opens the communication with the haptic device, reads the manipulandum (stylus) position, prints it to the screen and commands a force to the center of the workspace:
#include <iostream>
#include "haptikfabrikenapi.h"
#include <conio.h> // For _kbhit(), see full example for Linux alternative.

using namespace std;
using namespace haptikfabriken;

int main(){
    cout << "Welcome to Haptikfabriken API!\nPress any key to close.\n";

    // Select model
    Kinematics::configuration c = Kinematics::configuration::polhem_v3();

    // Create haptics communication thread.
    HaptikfabrikenInterface hfab(c, HaptikfabrikenInterface::USB);

    // Open the communcication
    hfab.open();

    while(!_kbhit()){
        // Get position (last received)
        fsVec3d pos = hfab.getPos();

        // Get orientation of manipulandum
        fsRot orientation = hfab.getRot();

        // Print position (note that printing to terminal is "slow")
        std::cout << "\nPosition: \n"
                  << pos.x() << ", " << pos.y() << ", " << pos.z()
                  << "\nOrientation: \n" << toString(orientation);

        // Compute a force
        fsVec3d f = -100 * pos;

        // Set force
        hfab.setForce(f);
    }

    hfab.close();
    return 0;
}
Please note that the cout in this example is making the loop slow, but since we are rendering a simple spring with low stiffness (100 N/m) it is fine as an example. Remove the cout in a real application.
To have a more interesting case, let’s render a surrounding box:
double k=200;  // stiffness
double b=0.03; // = 6 cm sides
double x=pos.x();
double y=pos.y();
double z=pos.z();
double fx,fy,fz;
fx=0;fy=0;fz=0;

if(x >  b) fx = -k*(x-b);
if(x < -b) fx = -k*(x+b);
if(y >  b) fy = -k*(y-b);
if(y < -b) fy = -k*(y+b);
if(z >  b) fz = -k*(z-b);
if(z < -b) fz = -k*(z+b);

f = fsVec3d(fx,fy,fz);
For those of you who would like more details of what is going on in the controls of the device, you can request more information, e.g:
int enc[6];
hfab.getEnc(enc);
int ma[3];
hfab.getLatestCommandedMilliamps(ma);

stringstream ss;
ss << "\"DeviceName\": \"" << hfab.kinematicModel.name << "\",\n";
ss << "\"Encoders\": [" << enc[0] << ", " << enc[1] << ", " << enc[2]
   << ", " << enc[3] <<", " << enc[4] << ", " << enc[5] << "],\n";
ss << "\"CommandedMilliamps\": ["
   << ma[0] << ", " << ma[1] << ", " << ma[2] << "],\n";
ss << "\"Position\": [" << toString(pos) << "],\n";
ss << "\"Orientation\": [\n" << toString(orientation) << "],\n";
ss << "\"BodyAngles\": [" << toString(hfab.getBodyAngles()) << "],\n";
ss << "\"CommandedForce\":   ["
   << f.x() << ", " << f.y() << ", " << f.z() << "]\n";

std::cout << ss.str(); // Note: call only periodically
Actually, there is a built-in http server that provides this information and more as a human-readable JSON object at http://localhost:8088. It also serves as gateway for incoming messages like button actions from Bluetooth. In a production build you can of course disable the web server altogether.
As an alternative to maintaining your own loop you can use the observer pattern, in which you implement a callback to when new position messages arrive from the haptic device:
class MyHapticListener : public HapticListener {
       void positionEvent(HapticValues& hv){
           // Print every 1000th position for info.
           if((msgcount++)%1000==0)
               std::cout << "Pos: " << toString(hv.position) << "\n";

           // Compute force
           fsVec3d f = -100 * hv.position;

           // Set the force to be rendered on device
           hv.nextForce = f;
       }
       int msgcount{0};
};

int main()
{
    Kinematics::configuration c = Kinematics::configuration::polhem_v3();
    HaptikfabrikenInterface hfab(c, HaptikfabrikenInterface::USB);
    hfab.open();

    // Add our listener
    MyHapticListener* myHapticListener = new MyHapticListener;
    hfab.addEventListener(myHapticListener);

    // Main loop, do nothing here
    while(!_kbhit()){}

    // Remove listener
    hfab.removeEventListener(myHapticListener);
    delete myHapticListener;
    myHapticListener = nullptr;
}
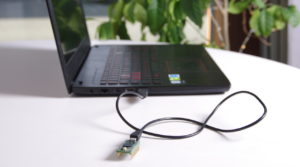
Finally, and to refer back to the picture at the top of this post. You can start developing even without a haptic device. Just get a Teensy 4.0 and load it with the latest firmware and you will always have a haptic device on hand to test with. We currently use that exact board as the main microcontroller in the Polhem device. And it is super fast! I have a small break-out as well so that I can turn some encoder knobs while debugging. If you would like to play with this, let me know and I send the latest firmware etc.
Oh, and this code works just as well with WoodenHaptics. Just use Kinematics::configuration::woodenhaptics_v2015() for example.

